
Jun 26, 2026
Custom Pouch Packaging Guide for Beginners | Step-by-Step Help for New Brands
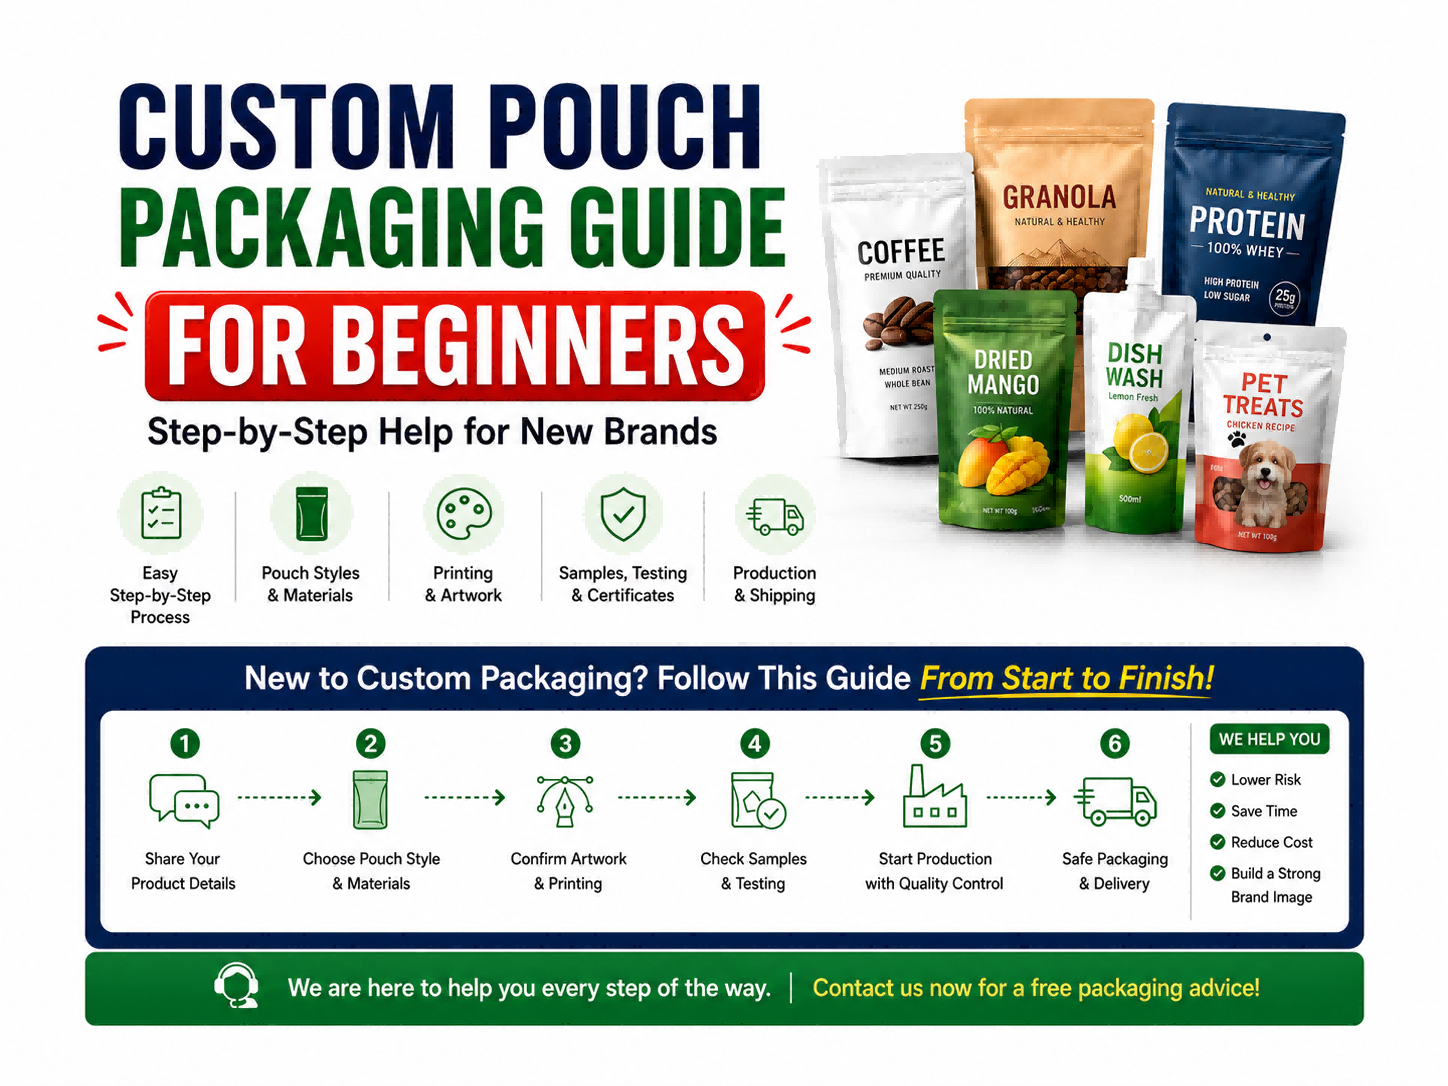
New to custom pouch packaging? Follow this step-by-step guide to prepare product details, choose materials, check samples, and start production.
Custom Pouch Packaging Guide for Beginners: How to Start Your First Packaging Project Step by Step
At TM-Future, we often met many first-time customers do not come to us with complete packaging specifications.
Some only have a product photo.
Some have a sample pouch from another brand.
Some only know the filling weight and target quantity.
Some are not sure whether they need a stand-up pouch, flat bottom pouch, spout pouch, zipper, valve, or special material.
That is completely normal.
You do not need to understand every packaging term before starting. This guide is written for new brand owners who are preparing their first custom pouch packaging project and need a clear, simple process to follow.
If you can provide basic product information, we can help you check the pouch style, material direction, printing method, sample needs, testing points, and production plan step by step.
Step 1: Tell Us What Product You Want to Pack
Before choosing pouch style, material, or printing, we first need to understand your product.
Please prepare:
Product type
Filling weight
Product form
Storage condition
Shelf-life target
Selling channel
Target market
For example:
Product: roasted coffee beans
Filling weight: 250g
Storage: room temperature
Shelf life: 6-12 months
Selling channel: online shop and retail store
Target market: United States
Another example:
Product: pet treats
Filling weight: 100g / 500g
Storage: room temperature
Need: resealable pouch
Target market: Europe
Why this matters:
Different products need different packaging. Coffee, snacks, powder, pet food, frozen food, liquid refill products, and oily food do not use the same pouch structure.
A good pouch is not only about appearance. It should protect your product, fit your filling method, support your selling channel, and stay within your budget.
Step 2: Confirm the Filling Weight and Approximate Pouch Size
If you already know the pouch size, you can send it directly.
For example:
130mm x 210mm + 70mm bottom gusset
If you do not know the size, that is okay. Many new customers do not know this at the beginning.
You can send us:
Product filling weight
Product photo
Reference pouch photo
Product dimensions
How you want the pouch to display
Then we can suggest a starting size for your reference.
A simple rule:
If the size is not confirmed, do not rush into artwork design or mass production. It is better to check the size with your actual product first.
Step 3: Choose a Suitable Pouch Style
Different pouch styles work better for different products.
Common pouch styles include:
Stand-up pouch
Flat bottom pouch
Side gusset bag
Three-side seal pouch
Flat pouch
Spout pouch
Shaped pouch
Roll film
For snacks, nuts, candy, dried fruit, granola, or powder:
Stand-up pouch is usually a practical starting option.
For coffee, premium snacks, or pet food:
Flat bottom pouch or side gusset bag can provide stronger shelf display.
For liquid, refill products, sauce, shampoo, or detergent:
Spout pouch is usually more suitable.
For automatic packing machines:
Roll film or machine-compatible pouch specifications may be needed.
If you are not sure which one to choose, send us your product and selling plan. We can help recommend a pouch style based on product weight, display needs, cost, and filling method.
Step 4: Choose the Material Direction
This is where many beginners get confused.
You may see words like:
PET
PE
CPP
VMPET
AL
PA
Kraft paper
Laminated material
You do not need to choose the exact structure by yourself.
We mainly need to know:
Is your product food or non-food?
Does it need moisture protection?
Does it need oxygen barrier?
Is it oily or greasy?
Is it powder, liquid, frozen, or dry?
Does it need long shelf life?
Will the packaging directly contact food?
Simple examples:
Roasted coffee may need:
High-barrier material + one-way degassing valve
Pet treats may need:
Stronger material + grease resistance + resealable zipper
Liquid refill products may need:
Strong sealing + leak-resistant structure + spout and cap
Frozen food may need:
Low-temperature resistant material + strong sealing
A common mistake is choosing material only by price. Low cost is important, but the material still needs to match your product’s shelf life, sealing, storage, and shipping needs.
Step 5: Decide Which Features Are Really Needed
Packaging features should make the pouch easier to use, safer to store, or better for display.
Common features include:
Zipper
Tear notch
Hang hole
One-way degassing valve
Spout and cap
Transparent window
Handle
Rounded corners
Matte finish
Glossy finish
Metallic effect
Simple feature guide:
If customers will open and close the pouch many times:
Add a zipper.
If your product is roasted coffee:
Consider a one-way degassing valve.
If you want customers to see the product inside:
Add a transparent window.
If the product is liquid or refill type:
Use a spout and cap.
If the pouch will hang in retail stores:
Add a hang hole or euro hole.
If you want a premium look:
Consider matte finish, metallic effect, or special surface finish.
But do not add every feature just because it looks good. Extra features may increase cost. We can help you choose only the features that are useful for your product.
Step 6: Choose the Printing Method
Most custom pouch projects use either digital printing or gravure printing.
Digital printing is suitable for:
Small quantity
New brand testing
Multiple flavors
Multiple designs
Fast trial orders
Seasonal packaging
Gravure printing is suitable for:
Larger quantity
Repeat orders
Stable design
Better unit cost at scale
Long-term packaging production
For new brands, digital printing is often easier to start with because it is more flexible for small batches and multiple designs.
If your design is stable and the order quantity is larger, gravure printing may be more cost-effective for repeat production.
Step 7: Prepare Your Artwork
If you already have a designer, please ask them to prepare print-ready artwork.
Preferred files include:
AI
PDF
EPS
Vector files
Please also prepare:
Fonts
Linked images
Pantone colors
Barcode or QR code
Nutrition facts
Product information
Logo file
Special printing instructions
If you do not have artwork yet, you can still contact us first.
You can prepare:
Logo
Brand name
Product name
Reference packaging style
Text information
Preferred colors
Product photos
One important reminder:
Please do not prepare the final artwork before the pouch size and dieline are confirmed. Otherwise, your designer may need to adjust the layout again.
A dieline is the packaging layout template. It shows the front, back, bottom, sealing area, cutting line, zipper position, and other important production areas.
Step 8: Check the Text Information on the Package
Before printing, please make sure the package information is correct.
Check these details carefully:
Brand name
Product name
Net weight
Ingredients
Nutrition facts
Barcode
QR code
Storage instructions
Country of origin
Warnings or claims
Contact information
Certification marks
Legal text
We can help check basic artwork and printing feasibility, but legal labeling requirements should be confirmed by your team, buyer, importer, or local consultant.
Food labeling rules may be different in the United States, European Union, Canada, Australia, and other markets.
Step 9: Confirm Food Contact, Testing, and Certificate Requirements
If your pouch will directly contact food, food-contact material and documents may be important.
Please tell us:
Product type
Target country
Required standard
Whether the pouch directly contacts food
Buyer or importer requirements
Needed report name
Preferred testing agency, if any
Product type
Target country
Required standard
Whether the pouch directly contacts food
Buyer or importer requirements
Needed report name
Preferred testing agency, if any
Common document requests may include:
FDA-related food contact information
EU food contact support
LFGB-related documents
SGS or third-party testing reports
Material supplier reports
Food-contact test reports
Important note:
Available documents depend on material structure, target market, and project requirements. If you need a specific report, company name, testing lab, or standard, please confirm before placing the order.
We can help check available material documents and discuss third-party testing options. However, final import compliance should be confirmed by the buyer, importer, or local regulatory consultant in your target market.
Do not wait until the goods are finished before asking for special certificates. Some reports need specific materials, samples, or testing arrangements in advance.
Step 10: Request Samples Before Large Orders
Samples help you check the pouch before mass production.
There are usually two types:
Existing samples
Custom printed samples
Existing samples can help you check:
Pouch style
Material feel
Thickness
Zipper
Valve
Spout
Printing quality reference
General workmanship
Custom printed samples can help you check:
Your design on the pouch
Color direction
Layout effect
Overall packaging appearance
For first-time packaging projects, sample checking is useful. For liquid, powder, oily, frozen, heavy, or food-contact products, testing is especially important.
Step 11: Test the Pouch With Your Actual Product
A pouch may look good, but it still needs to work with your real product.
Before a large order, you may need to test:
Filling fit
Sealing strength
Leakage
Drop resistance
Storage condition
Shelf display
Barcode scanning
Transportation
Customer opening experience
Shelf life
This step helps reduce risk before mass production.
For example:
If the product is powder, check whether the zipper area gets dirty easily.
If the product is liquid, check sealing and leakage carefully.
If the product is heavy, check pouch strength and drop resistance.
If the product is coffee, check barrier needs and valve function.
Step 12: Confirm All Final Details Before Production
Before production starts, please confirm:
Pouch size
Material structure
Thickness
Printing method
Quantity
Artwork version
Color reference
Zipper or valve position
Spout or window position
Surface finish
Sample approval
Production schedule
Shipping method
A simple rule:
Do not start mass production if size, artwork, material, quantity, or testing requirements are still unclear.
A few extra checks before production can save a lot of trouble later.
Step 13: Understand Production Lead Time
Production time depends on:
Pouch type
Material availability
Printing method
Order quantity
Artwork approval
Sample approval
Special features
Production schedule
Digital printing is usually more flexible for small runs. Gravure printing may need more preparation time because of printing cylinders and production setup.
Production time usually starts after:
Order confirmation
Payment arrangement
Artwork approval
Material confirmation
Proof or sample approval, if needed
If artwork approval is delayed, production time may also be delayed.
Step 14: Arrange Shipping
Shipping method depends on order size, budget, and deadline.
Common options include:
Express delivery
Air shipping
Sea shipping
Door-to-door delivery
Express delivery is good for samples, small orders, and urgent shipments.
Air shipping is faster than sea shipping and may suit urgent larger orders.
Sea shipping is more cost-effective for larger orders, but takes longer.
Door-to-door delivery is convenient for customers who want simpler logistics support.
Shipping cost depends on:
Carton size
Gross weight
Destination
Shipping method
Delivery time
Customs and duties
Step 15: Check the Goods After Receiving
After receiving the goods, please check:
Carton condition
Quantity
Pouch size
Printing
Color
Sealing
Zipper
Valve
Spout
Window
Packing condition
Visible damage
If there is any issue, please take photos and videos as soon as possible.
Useful information includes:
Problem photos
Problem videos
Affected quantity
Carton label
Outer carton condition
Inner packing condition
Order number
These details help us review the issue quickly and provide a reasonable solution.
Step 16: Prepare for Repeat Orders
For repeat orders, please send:
Previous order information
Artwork version
Pouch photo
Quantity
Any changes needed
Target delivery time
You can also update:
New flavor
New size
New barcode
New ingredients
New color
New market information
If your brand grows, your packaging should stay consistent across different SKUs. We can help plan packaging for multiple flavors, sizes, or product lines.
Beginner Checklist Before Contacting Us
You do not need to prepare everything perfectly. But the more information you provide, the faster we can help.
Please prepare as much as possible:
Product type
Filling weight
Target pouch size, if known
Quantity
Target market
Storage condition
Shelf-life target
Artwork file or logo
Reference packaging image
Preferred pouch style
Required features, such as zipper, valve, spout, or window
Food-contact or testing requirements
Target delivery time
Shipping destination
Message Template You Can Send Us
If you are not sure how to describe your project, you can copy and fill out this simple template:
Product:
Filling weight:
Estimated quantity:
Target market:
Storage condition:
Shelf-life target:
Artwork ready? Yes / No
Preferred pouch style, if any:
Required features:
Food-contact or testing requirements:
Reference packaging photo:
Shipping destination:
Target delivery time:
With this information, we can help recommend a practical packaging direction more quickly.
Common Beginner Mistakes to Avoid
Choosing packaging only by appearance
A pouch should look good, but it also needs to protect the product and work with filling, storage, and shipping.
Not confirming size with the real product
A size that looks correct on screen may not fit your actual product well. Testing with real product is safer.
Choosing the cheapest material without checking product needs
Low cost is important, but the material still needs to match barrier, sealing, strength, and shelf-life needs.
Preparing artwork before confirming the pouch structure
Artwork should be designed according to the confirmed dieline. Otherwise, the layout may need to be changed later.
Asking for certificates too late
If you need food-contact reports or third-party testing, confirm the requirements before production.
Skipping sample or filling tests
For new, liquid, powder, oily, frozen, or heavy products, testing can reduce risk before large orders.
Changing artwork after production starts
Artwork changes after production starts may cause extra cost, delay, or may not be possible.
Simple Project Flow
Here is the easiest way to start your first custom pouch project:
Send product details
↓
Confirm pouch style
↓
Choose material structure
↓
Confirm printing method
↓
Prepare artwork or dieline
↓
Check sample or proof
↓
Confirm order details
↓
Start production
↓
Inspect and ship
↓
Prepare repeat order if needed
What If You Are Still Not Sure?
You do not need to know all packaging terms before contacting us.
Just send us:
What product you pack
How much product goes into each pouch
Where you sell it
How you want it to look
How many pieces you need
Any reference packaging you like
We will help you step by step.
Start Your First Custom Pouch Project
Send us your product type, filling weight, target quantity, artwork status, and packaging goal. We will help recommend a practical pouch style, material structure, printing method, and order plan for your project.
Get Packaging Advice